


Retrieving and Consolidating Data from Multiple APIs with SwiftUI
In the exciting world of iOS development with Swift and SwiftUI, a common challenge arises when dealing with multiple APIs that provide lists of endpont. Example, imagine having access to not just one, but four different sources of news data. The question that naturally arises is how to elegantly bring all this valuable information together and present it seamlessly using SwiftUI's List view. In this blog post, we'll explore how to achieve this multi-API news integration goal.
Fire up your Xcode and start coding.
There are multiple steps that need to be done to implement this
Let's say we have these 4 endpoint:
https://berita-indo-api-next.vercel.app/api/cnn-news/internasionalhttps://berita-indo-api-next.vercel.app/api/cnn-news/ekonomihttps://berita-indo-api-next.vercel.app/api/cnn-news/teknologihttps://berita-indo-api-next.vercel.app/api/cnn-news/hiburan
Step 1
Define your model structure. The data models should conform to the Codable protocol.
struct Article: Codable, Identifiable {
    let title: String
    let link: URL
    let contentSnippet: String
    let isoDate: String
    let image: ImageURLs

    var id: String {
        link.absoluteString
    }
}
Step 2
Create a Network Manager. This will handle fetching data from API and decoding it.
class NetworkManager {
    static let shared = NetworkManager()

    private init() {}

    func fetchData(from url: URL) async throws -> NewsResponse {
        let (data, _) = try await URLSession.shared.data(from: url)
        let articles = try JSONDecoder().decode(NewsResponse.self, from: data)
        return articles
    }
}
Step 3
Connect your API data with SwiftUI List.
First, create a ViewModel that will handle multiple network requests and merge the results.
class ArticleViewModel: ObservableObject {
    @Published var articles = [Article]()
    @Published var errorMessage = ""

    // cache article data for better performance
    private var cachedArticles = [NewsSource: [Article]]()

    // load from cache
    func loadNews(from source: NewsSource) async {
        if let articles = cachedArticles[source] {
            self.articles = articles
        } else {
            do {
                let newsURL = URL(string: source.url)!
                let response = try await NetworkManager.shared.fetchData(from: newsURL)
                self.articles = response.data
                // Cache the new data
                cachedArticles[source] = self.articles
            } catch {
                self.errorMessage = error.localizedDescription
                print("Failed to load news: \(error)")
            }
        }
    }
}
Final Step
Create SwiftUI View:
struct ContentView: View {

    @State private var selectedSource = NewsSource.cnnInternational
    @ObservedObject var articleVM = ArticleViewModel()

    var body: some View {
        VStack {
            Picker("News Source", selection: $selectedSource.onChange { newSource in
                Task {
                    await articleVM.loadNews(from: newSource)
                }
            }) {
                ForEach(NewsSource.allCases, id: \.self) { source in
                    Text(source.rawValue).tag(source)
                }
            }
            .pickerStyle(SegmentedPickerStyle())

            .pickerStyle(SegmentedPickerStyle())
            .task {
                await articleVM.loadNews(from: selectedSource)
            }

            List(articleVM.articles) { article in
                Text(article.title)
            }
            .task {
                await articleVM.loadNews(from: selectedSource)
            }
        }
        .padding()
    }
}
In the steps I described above, we first created a model to represent the data we was fethcing, then created fetchData function to fetch data from one API a time, then added a ViewModel to handle fetching data from all APIs simultaneously, and finally updated the SwiftUI view to use this ViewModel within Picker View (SegmentedPickerStyle).
When fetching data from multiple APIs, one thing can be useful is DispatchGroup, which can be used as shown above to handle multiple simultaneous network requests and allow us to do something once they are all completed. This strategy allows you to keep your code clean and simple, while still having the same functionality.
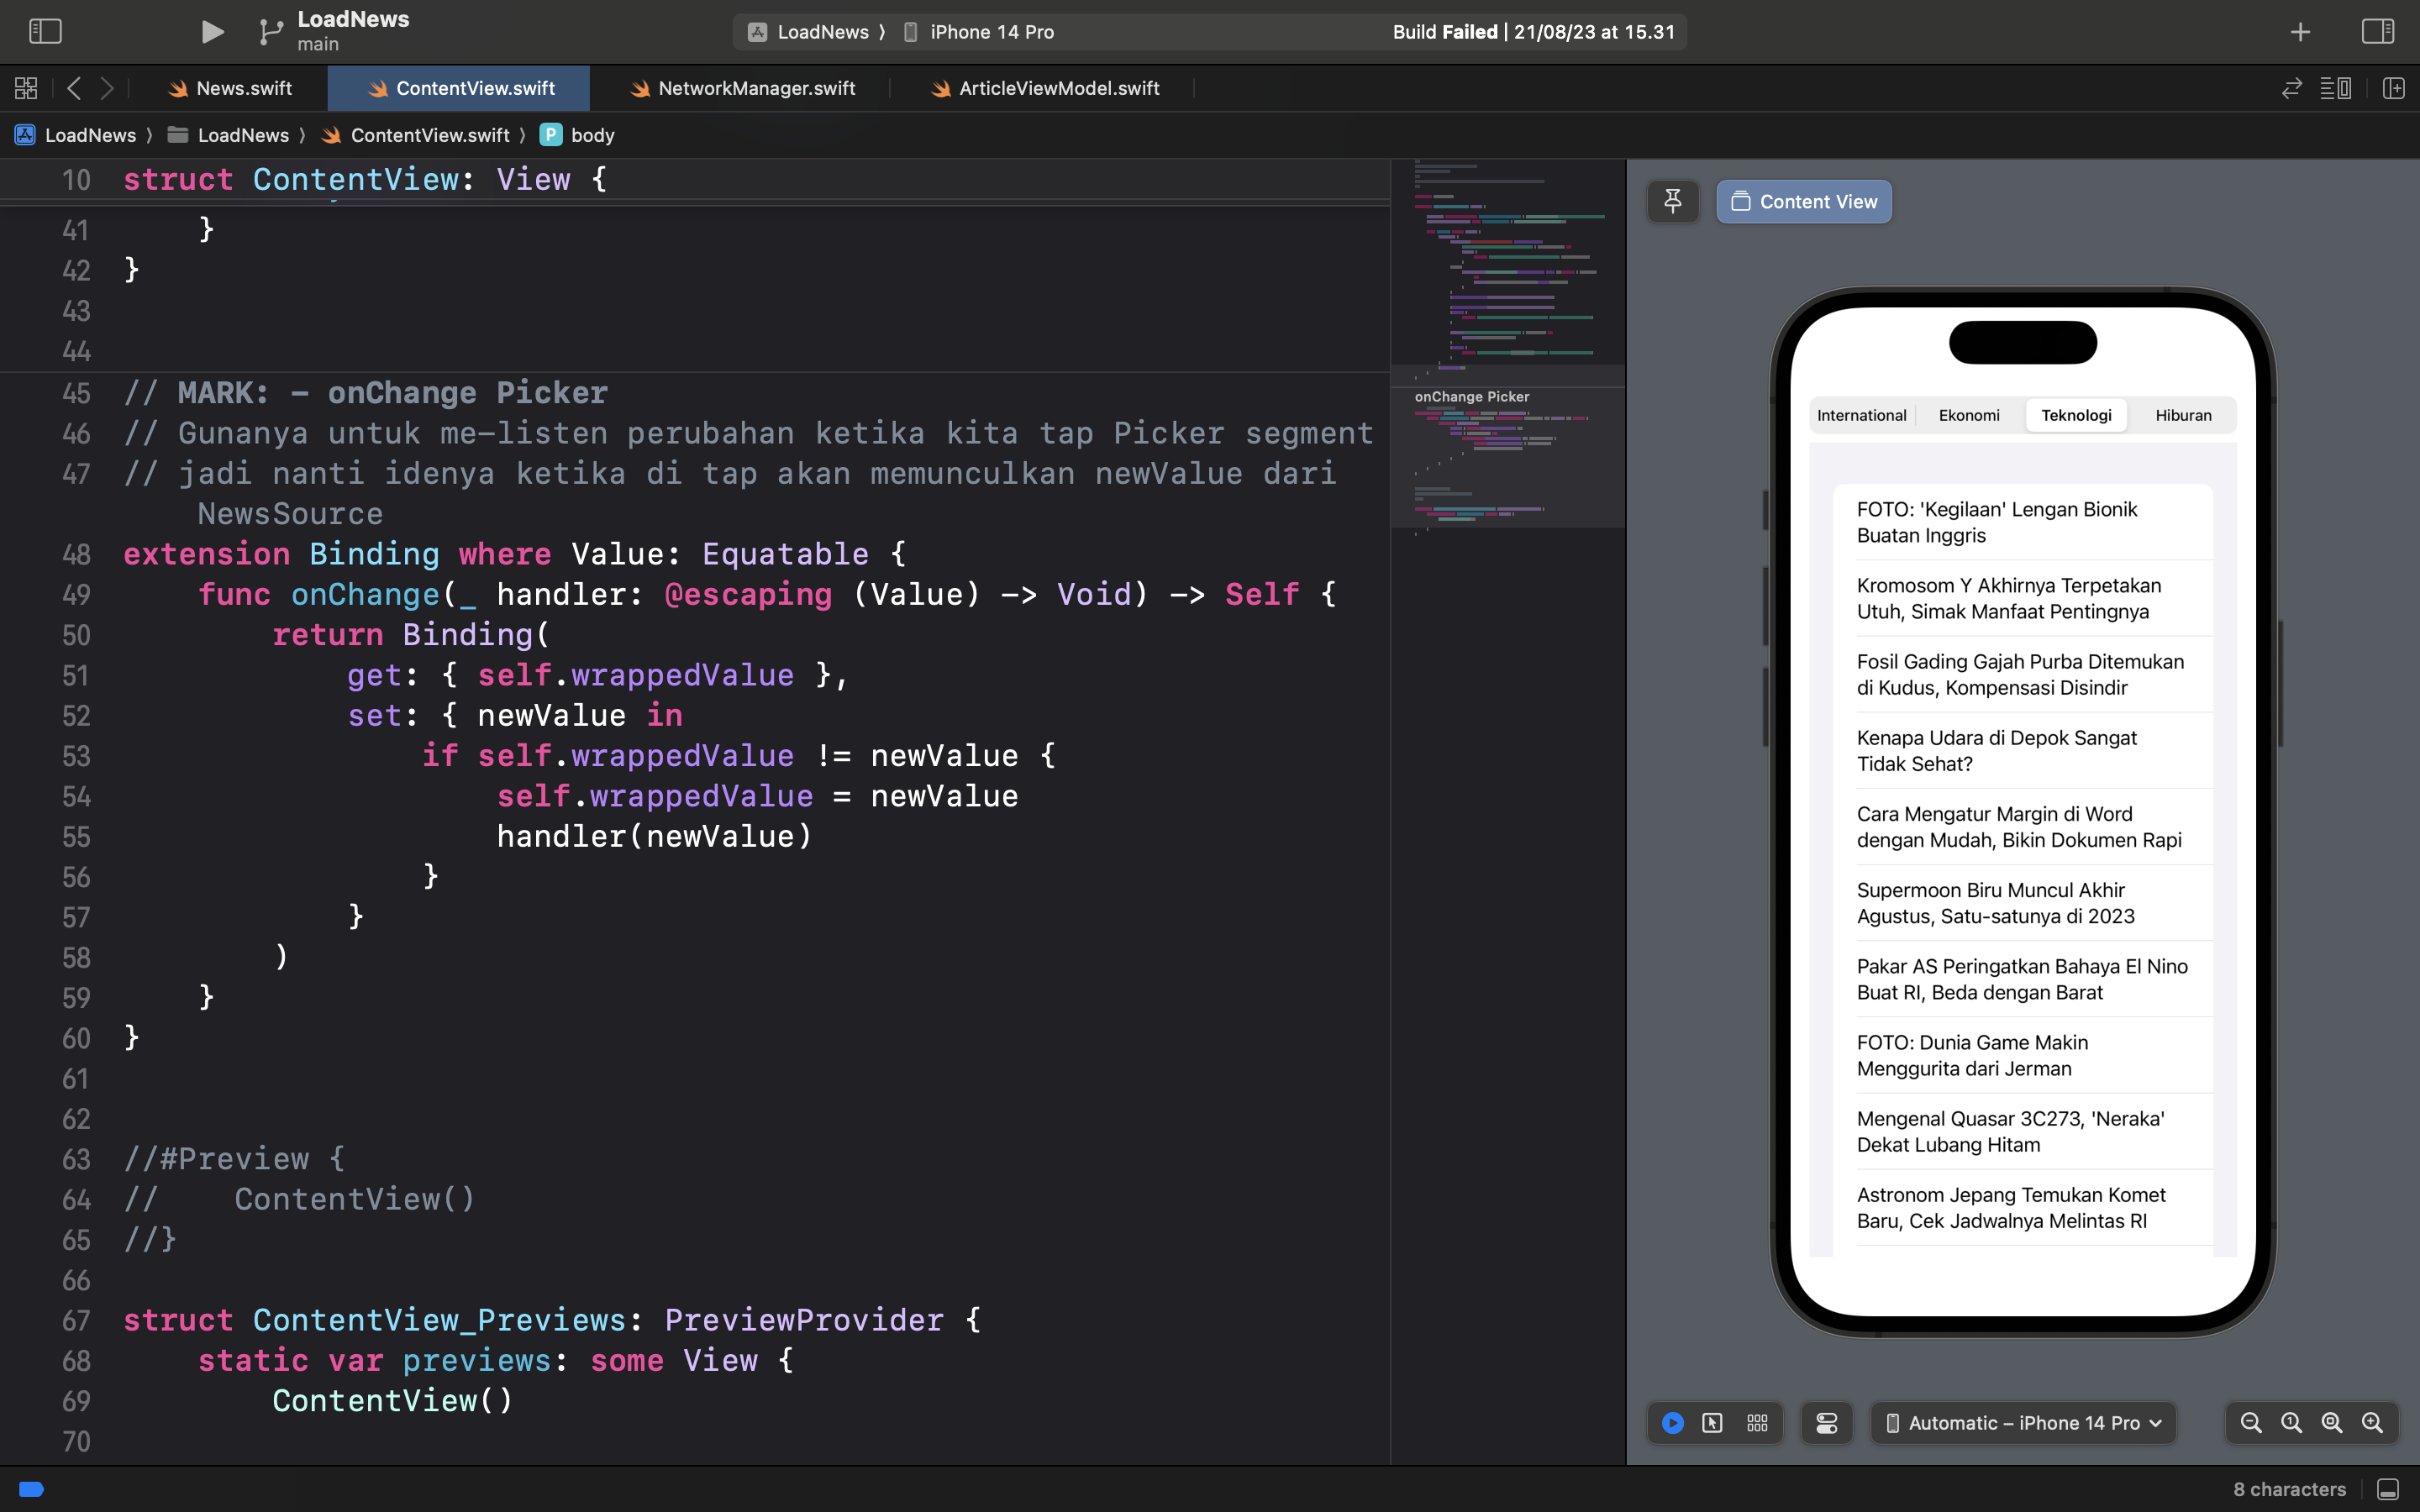
Here are the final screenshot:
Final source code: Github repository
That's all for now!
Thank you for stopping by.
Don't subscribe